B2B Procurement Guide
How to Install the Reusable Heating Wire Circuit on a Bubble CPAP System (Step-by-Step)
A step-by-step installation guide for the reusable heating wire breathing circuit on a bubble CPAP system - written for biomedical engineers and hospital technicians.
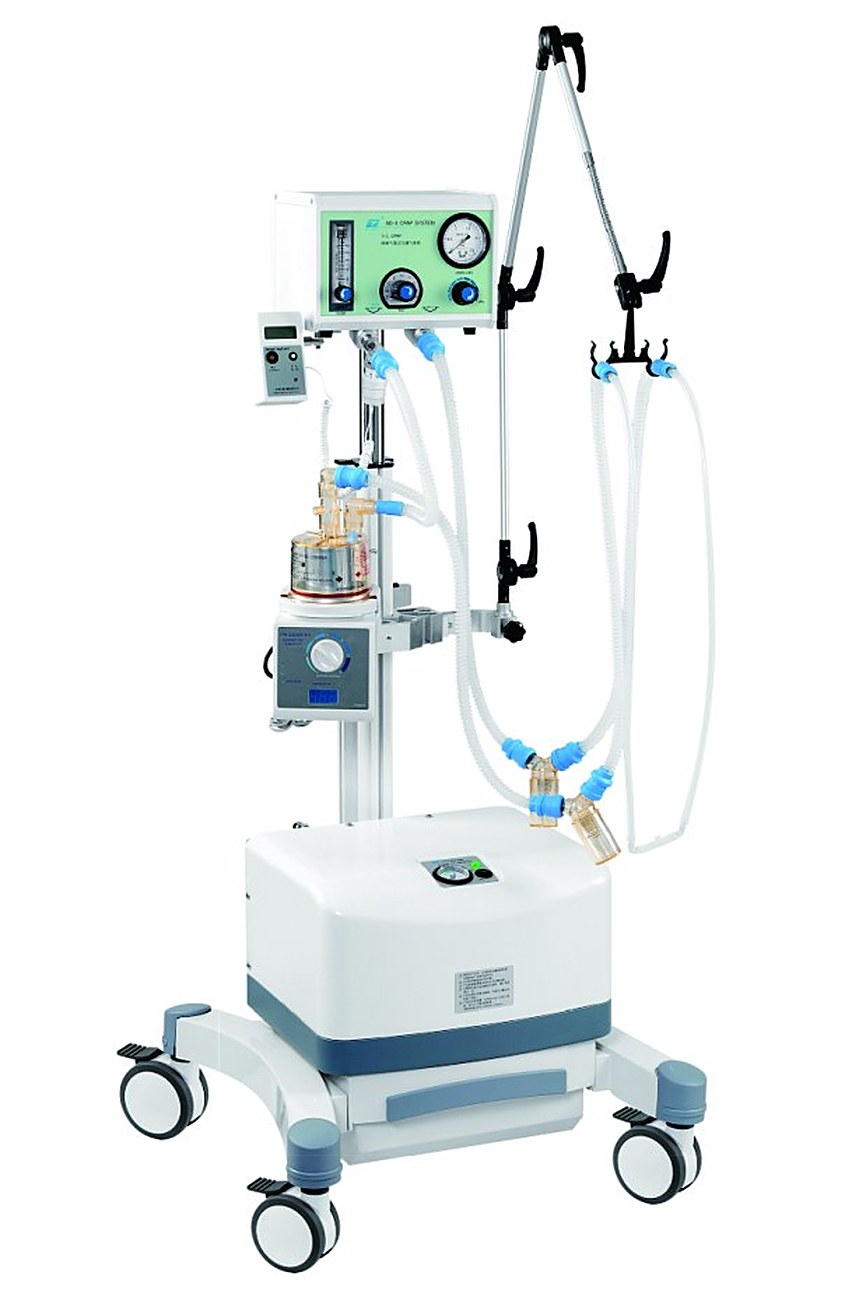
Biomedical engineers and hospital technicians ask us for installation resources more than for brochures - and rightly so: a humidifier is only as good as its installation. This guide summarizes the manufacturer's official step-by-step instruction for installing the reusable heating wire breathing circuit on a bubble CPAP system (AD series with FC850 heated humidifier). The complete instruction - 21 pages with photos for every step - ships with every unit and is available as a PDF on request.
Before you start: what the kit contains
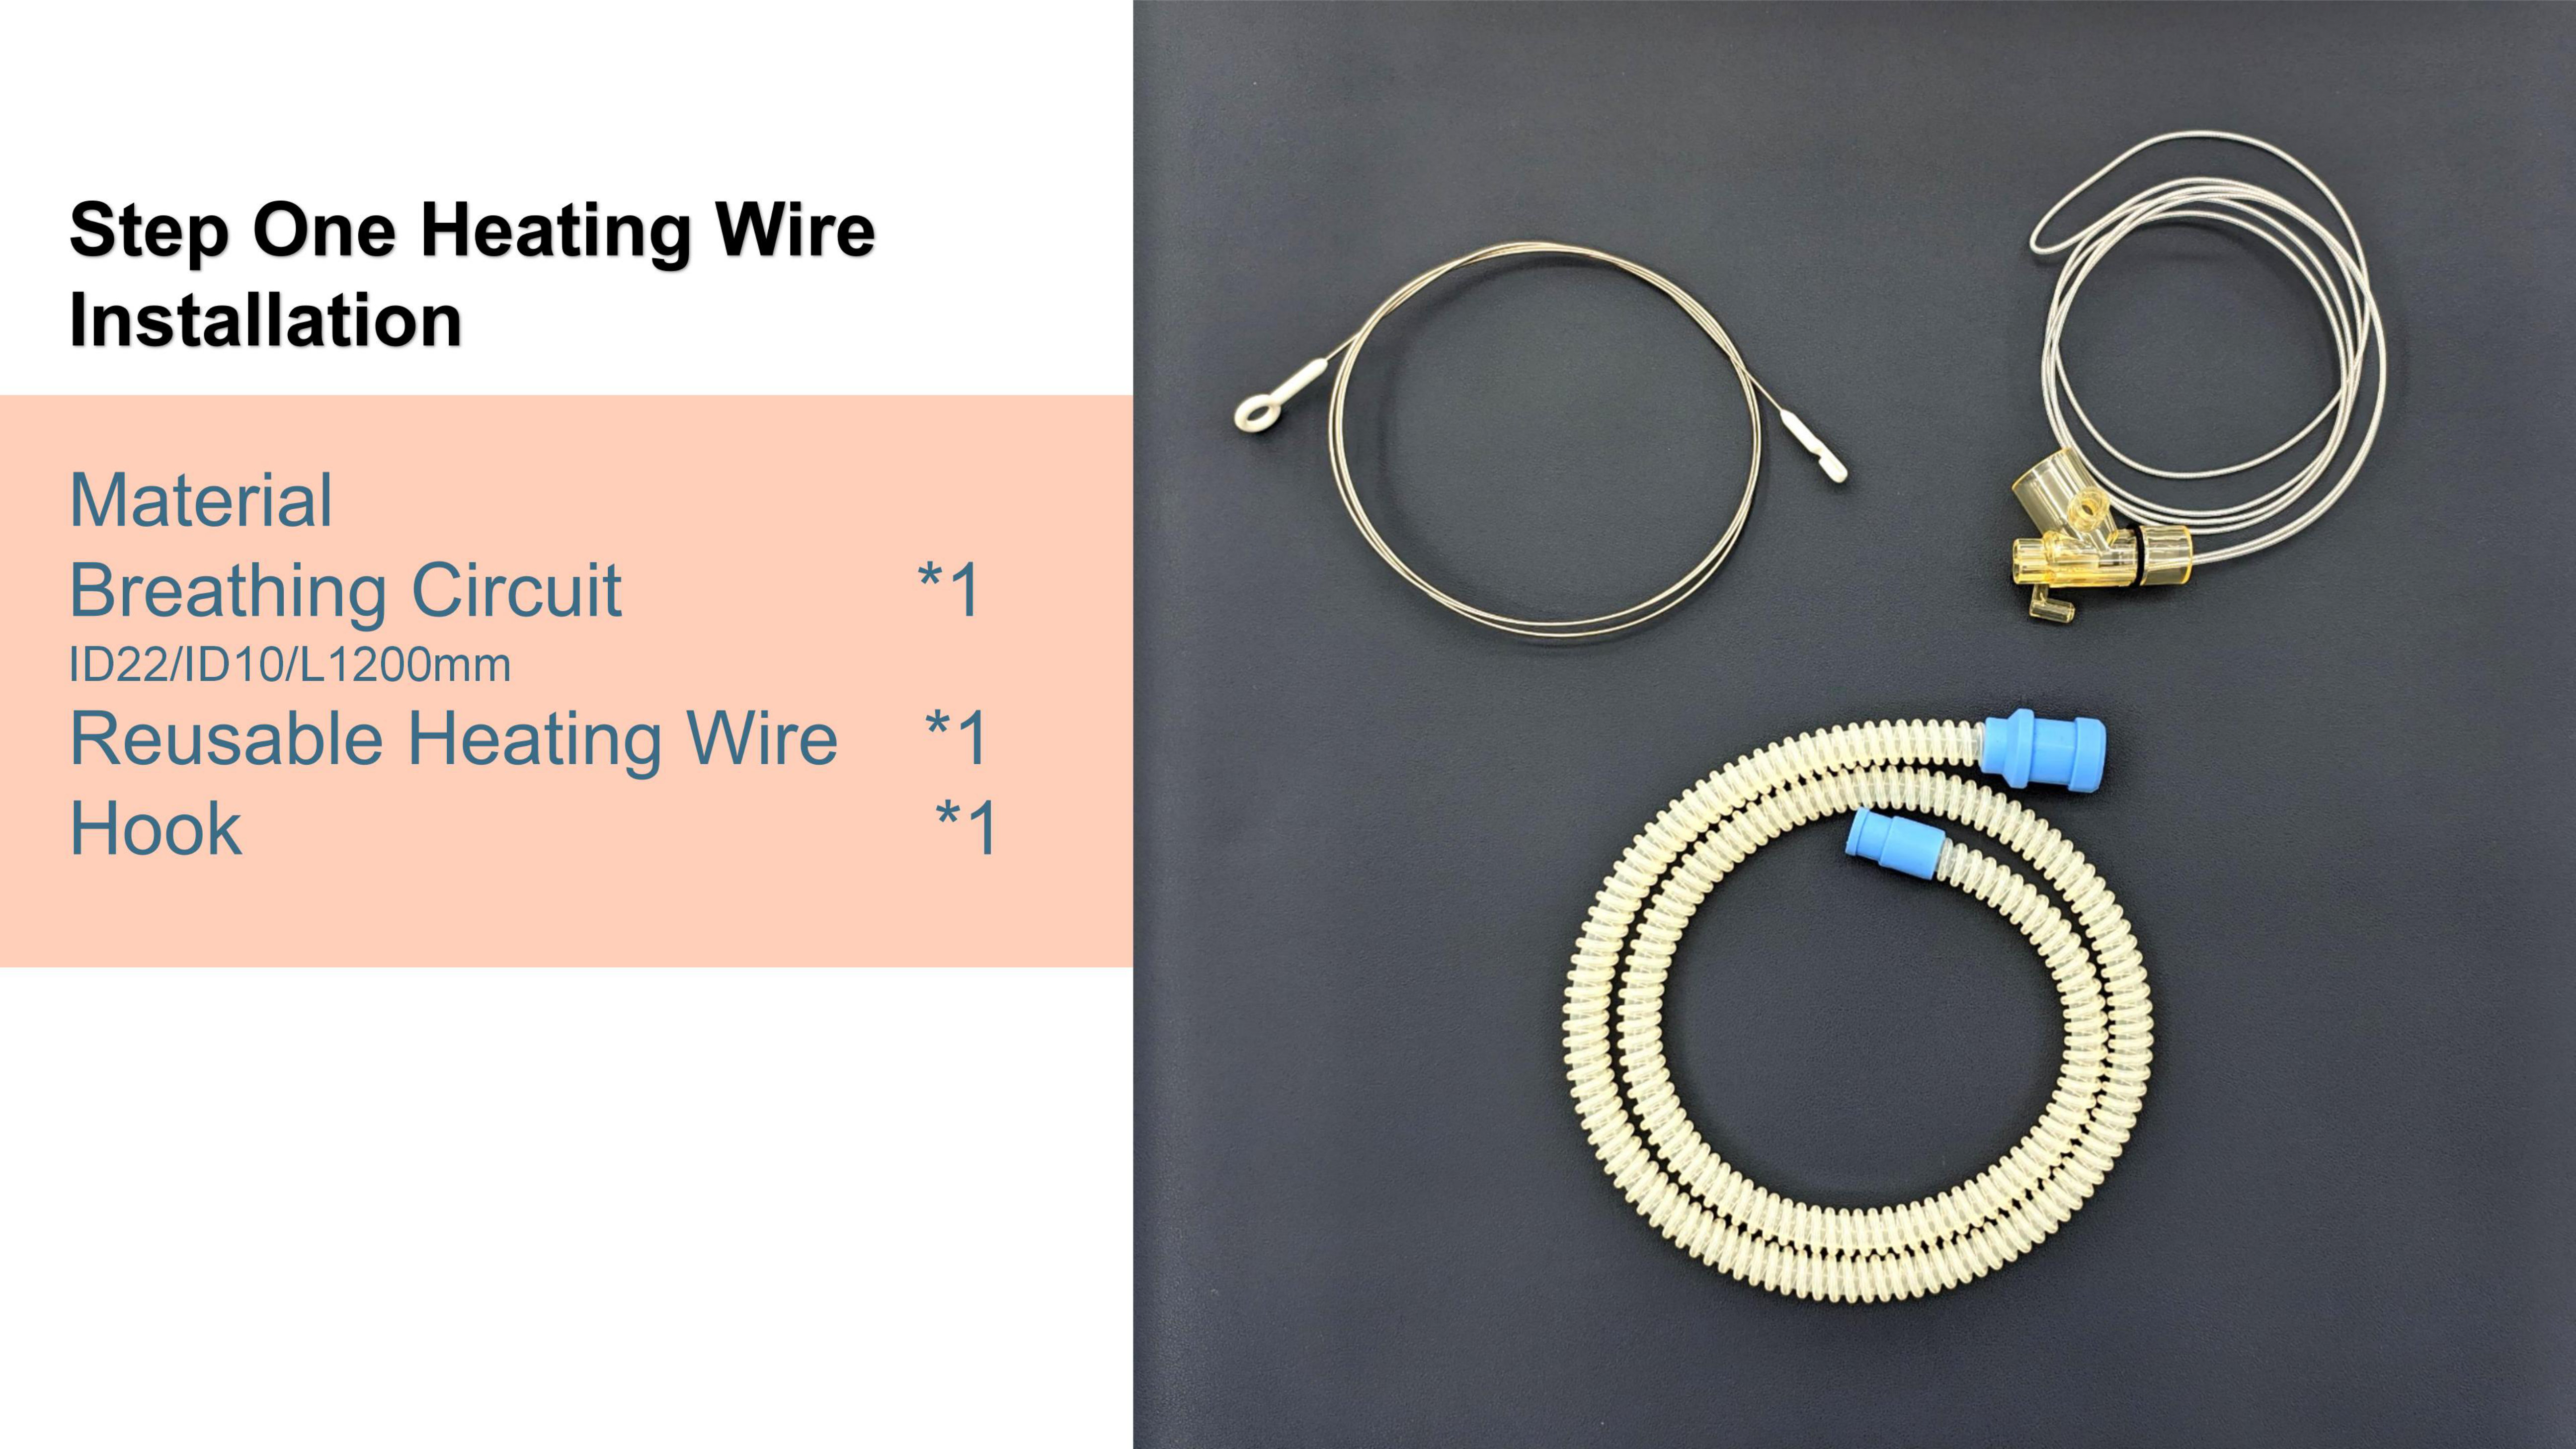
The reusable heating wire kit contains three components: the breathing circuit (ID22/ID10, length 1,200 mm), the reusable heating wire, and the threading hook. Have the heated humidifier (FC850), the temperature probe and the bubble CPAP device ready before installation.
Step one: heating wire installation
Thread the hook through the breathing circuit from the ID10 mm port, then pull the heating wire through the circuit channel so it runs evenly along the full length - the heater wire keeps the gas temperature stable along the circuit wall and prevents condensation rainout. Once threaded, push the adaptor of the reusable heating wire into the ID22 port of the breathing circuit until it seats. The wire must run smoothly with no sharp bends - a pinched wire creates hot spots.
Step two: connect to the humidifier and the patient circuit
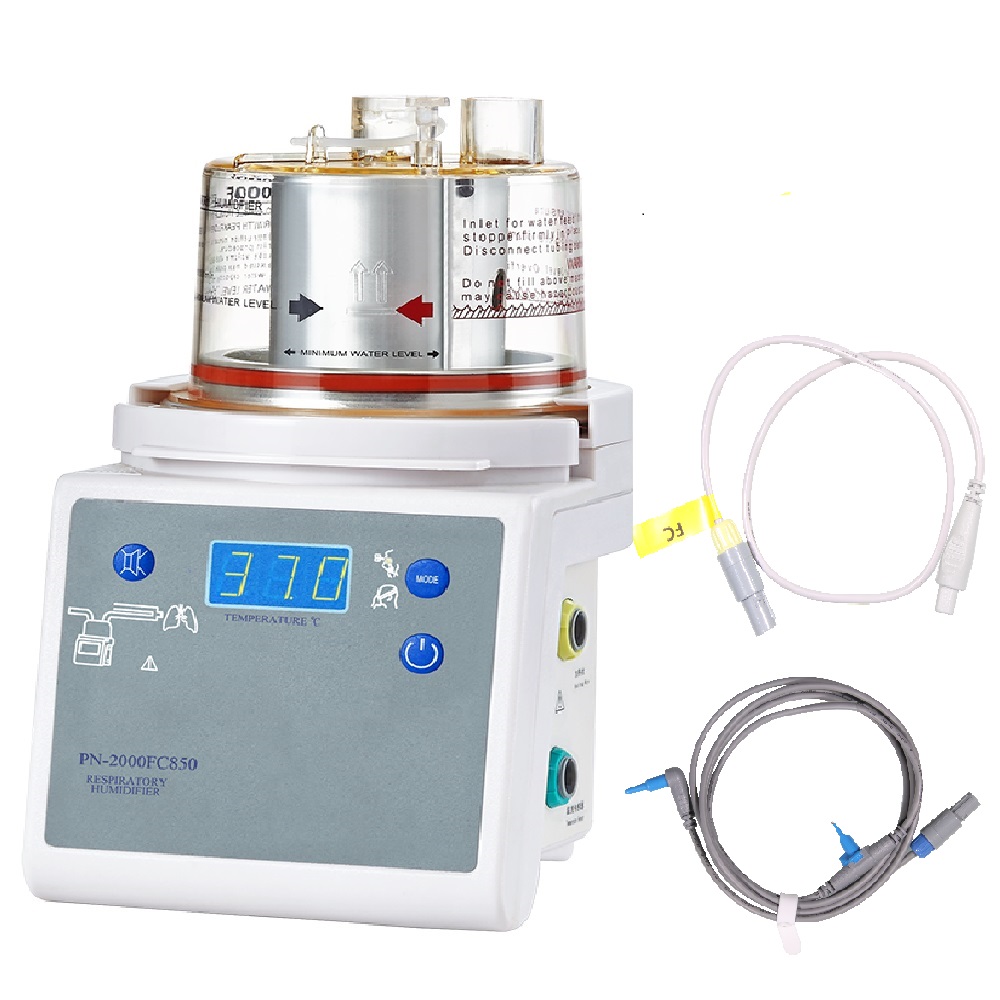
Mount the chamber on the FC850 heating base, fill with sterile water to the level line, and connect the circuit ports: the heated-wire adaptor to its socket on the humidifier, the temperature probe to the probe socket, and the circuit ports to the chamber inlet and outlet. The probe measures the gas temperature at the patient end and feeds the servo control.
Step three: power on and verify
Select the mode (invasive or non-invasive), set the target temperature, and watch the digital display: the servo system adjusts heater-wire power automatically against the probe reading. Verify the temperature stabilizes in the target band and check the circuit for condensation - minor moisture is normal, pooled water means the wire is pinched or the room is too cold.
Care and reuse
The heating wire and circuit are reusable: wash and disinfect per the infection-control protocol after each patient, inspect the wire for kinks before every reuse, and replace at any sign of damage. The chamber carries a cover and overflow valve; accessories are disinfectable by routine or gas methods.
Frequently asked questions
Is the heating wire circuit reusable or single-use?
Reusable - that is the point of this design: the heating wire, circuit and hook are washed and disinfected between patients, which removes the recurring consumable cost of disposable circuits. A disposable T-piece breathing circuit (1.2 m) is also available as an option.
Does the guide cover the complete bubble CPAP setup?
The 21-page official instruction covers the heating wire installation step by step with photos; the humidifier manual covers chamber filling and modes; and the CPAP device manual covers the control unit. All three documents ship with every set and are available as PDFs on request.
Next step
If you need the installation PDF, the catalog, or a quotation for the FC850 humidifier with the reusable heating wire circuit, reach the team at Pigeon Medical through the contact form on this site or via the email and phone listed on the Contact Us page.